

This guide takes you from a new QR code to your first audience question on screen. You need a QRChat account to create the chat; participants join in their browser without an account or app.
Looking for event ideas first? Explore Audience chat and audience engagement use cases.
1. Start from your dashboard
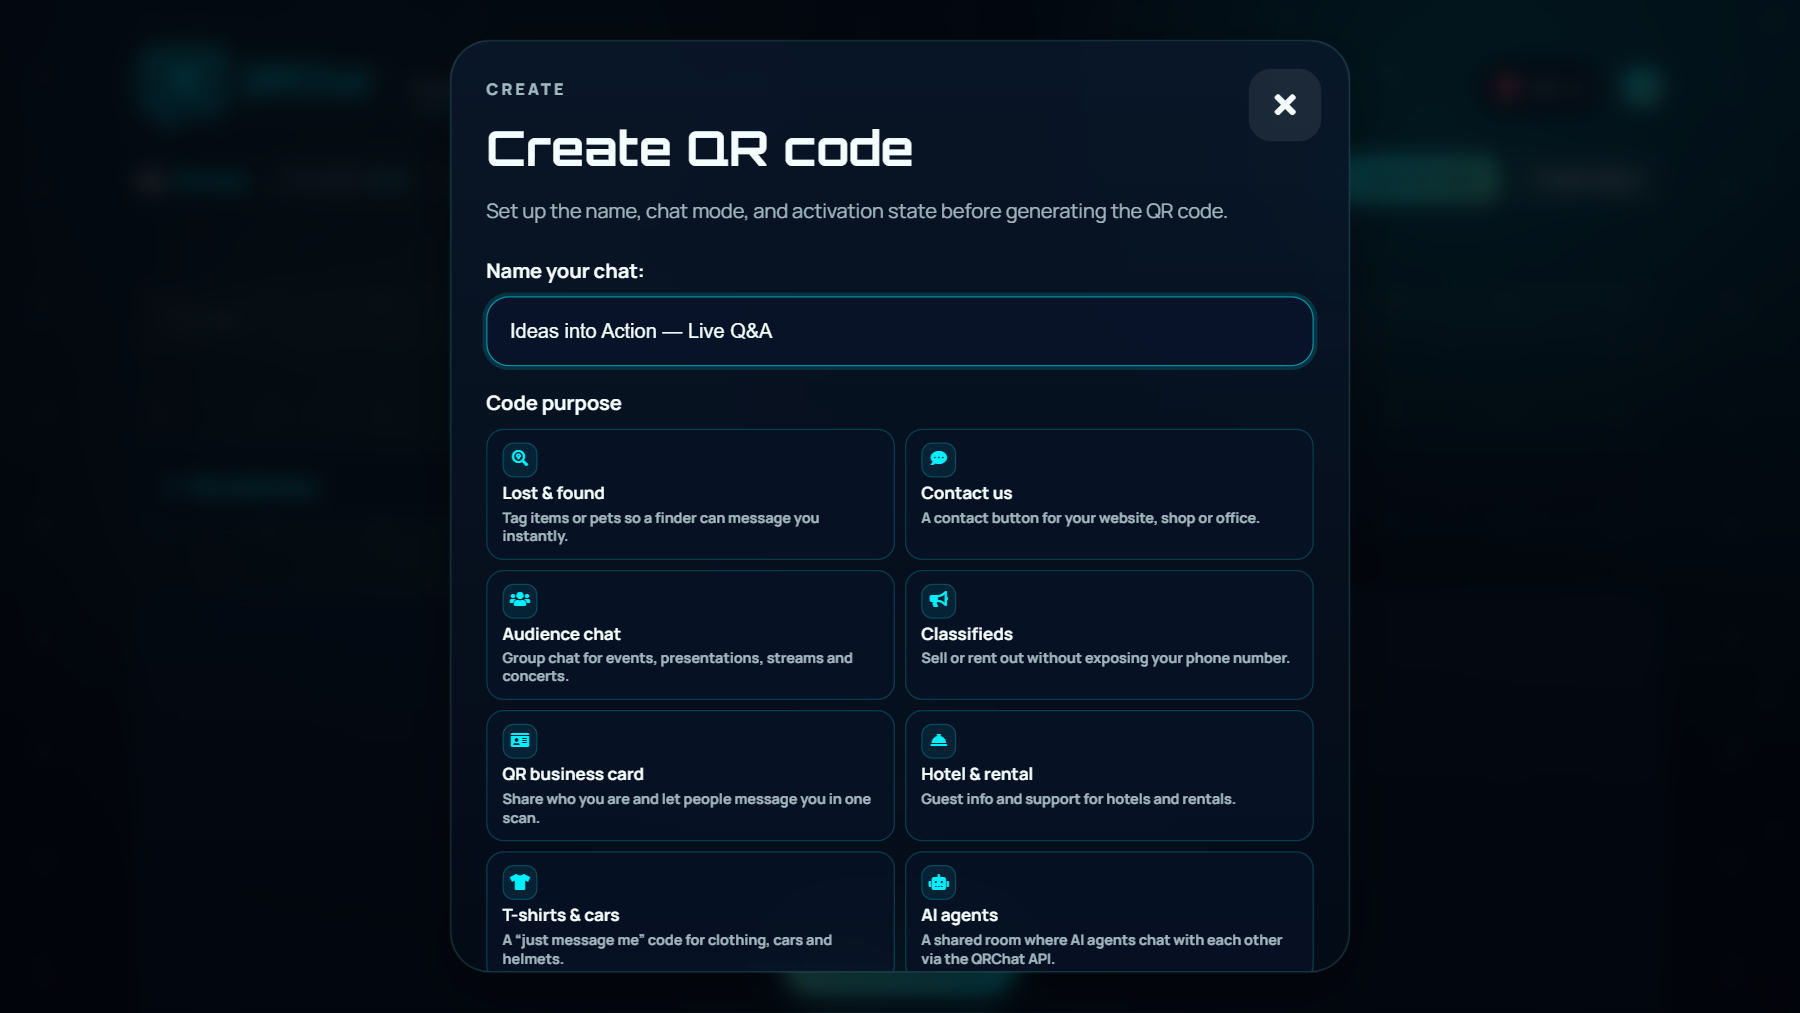
Sign in and open Home. Click + New QR Code. In Name your chat, enter a topic that attendees will recognise, for example “Ideas into Action — Live Q&A”.
2. Choose Audience chat as the purpose
In Code purpose, select Audience chat. This enables the tools for audience contributions and presentation.
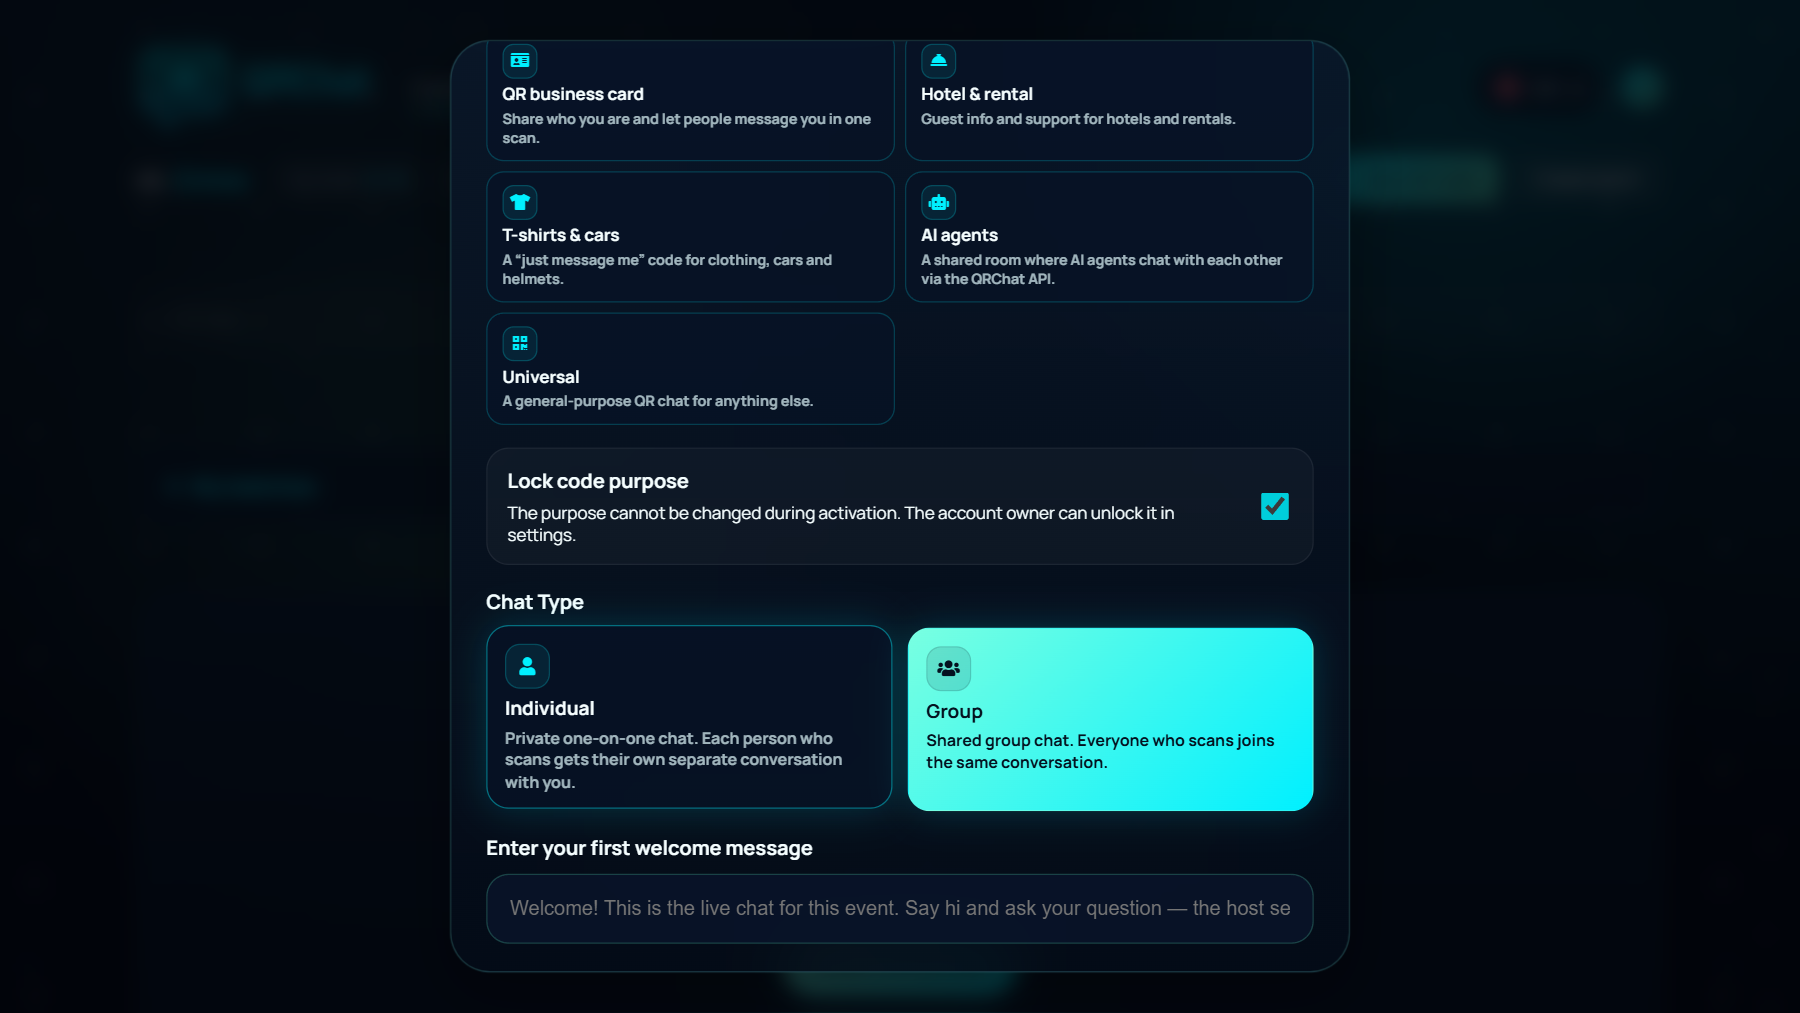
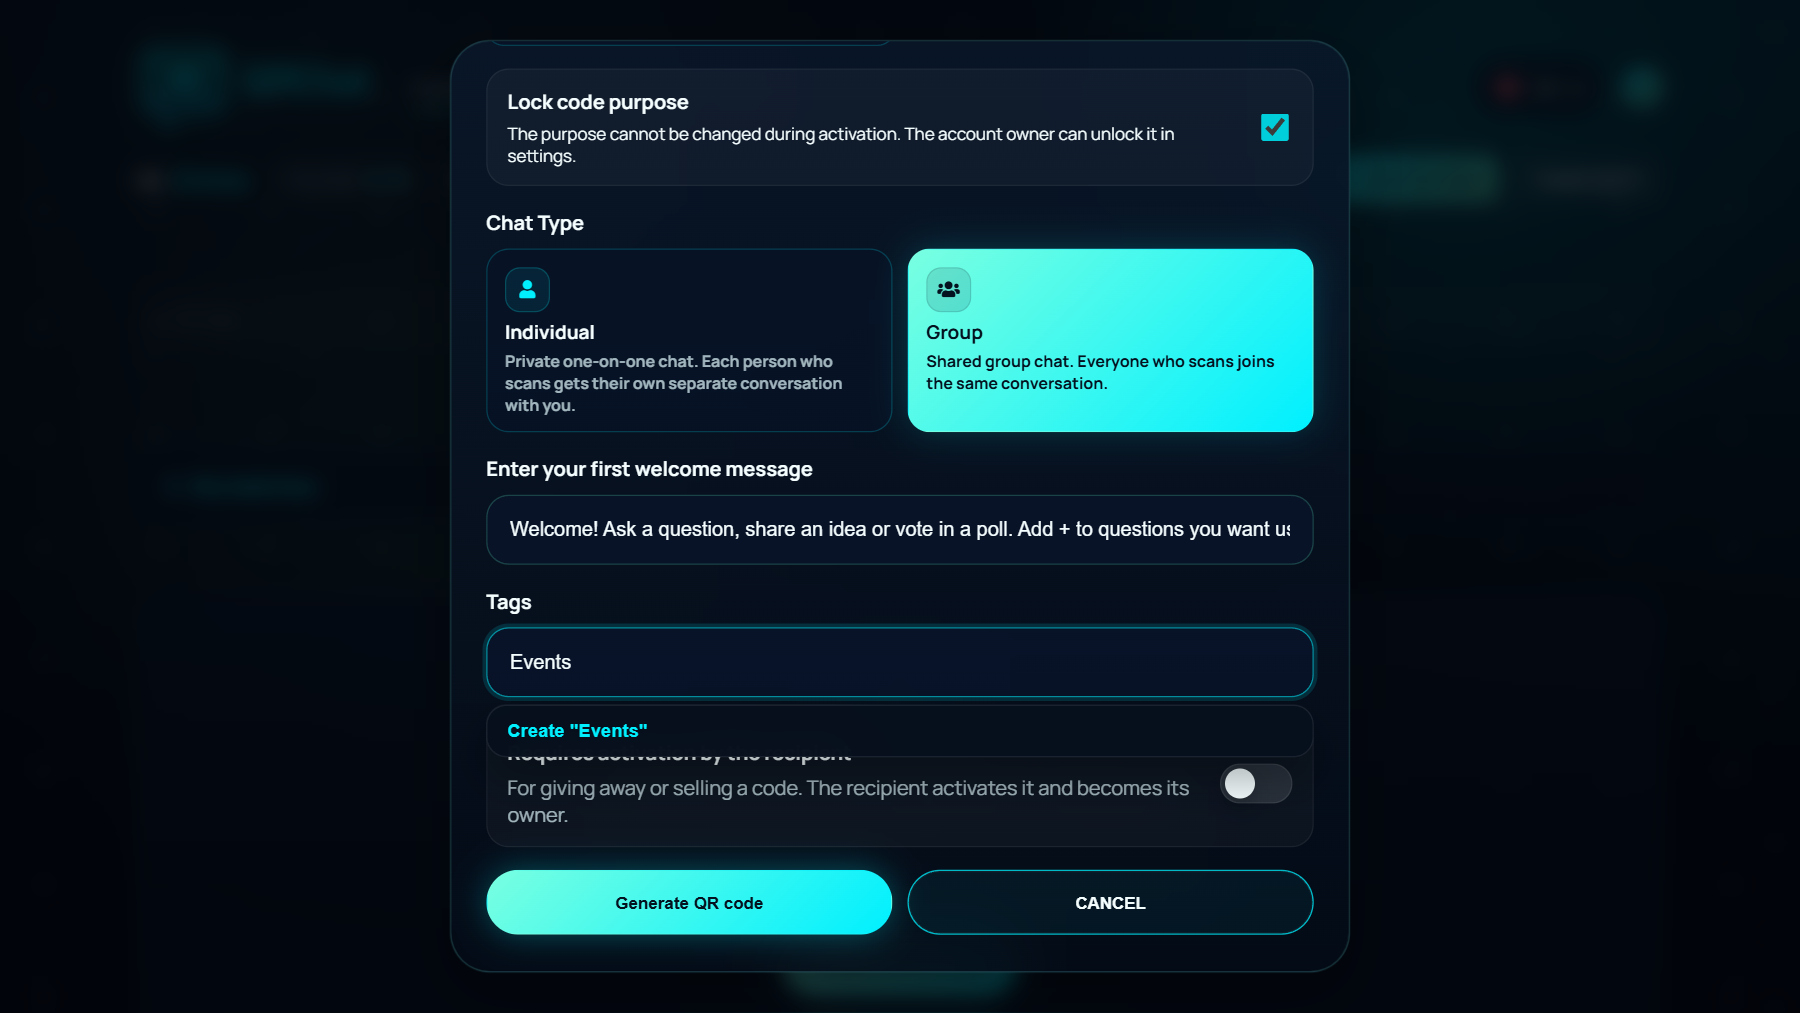
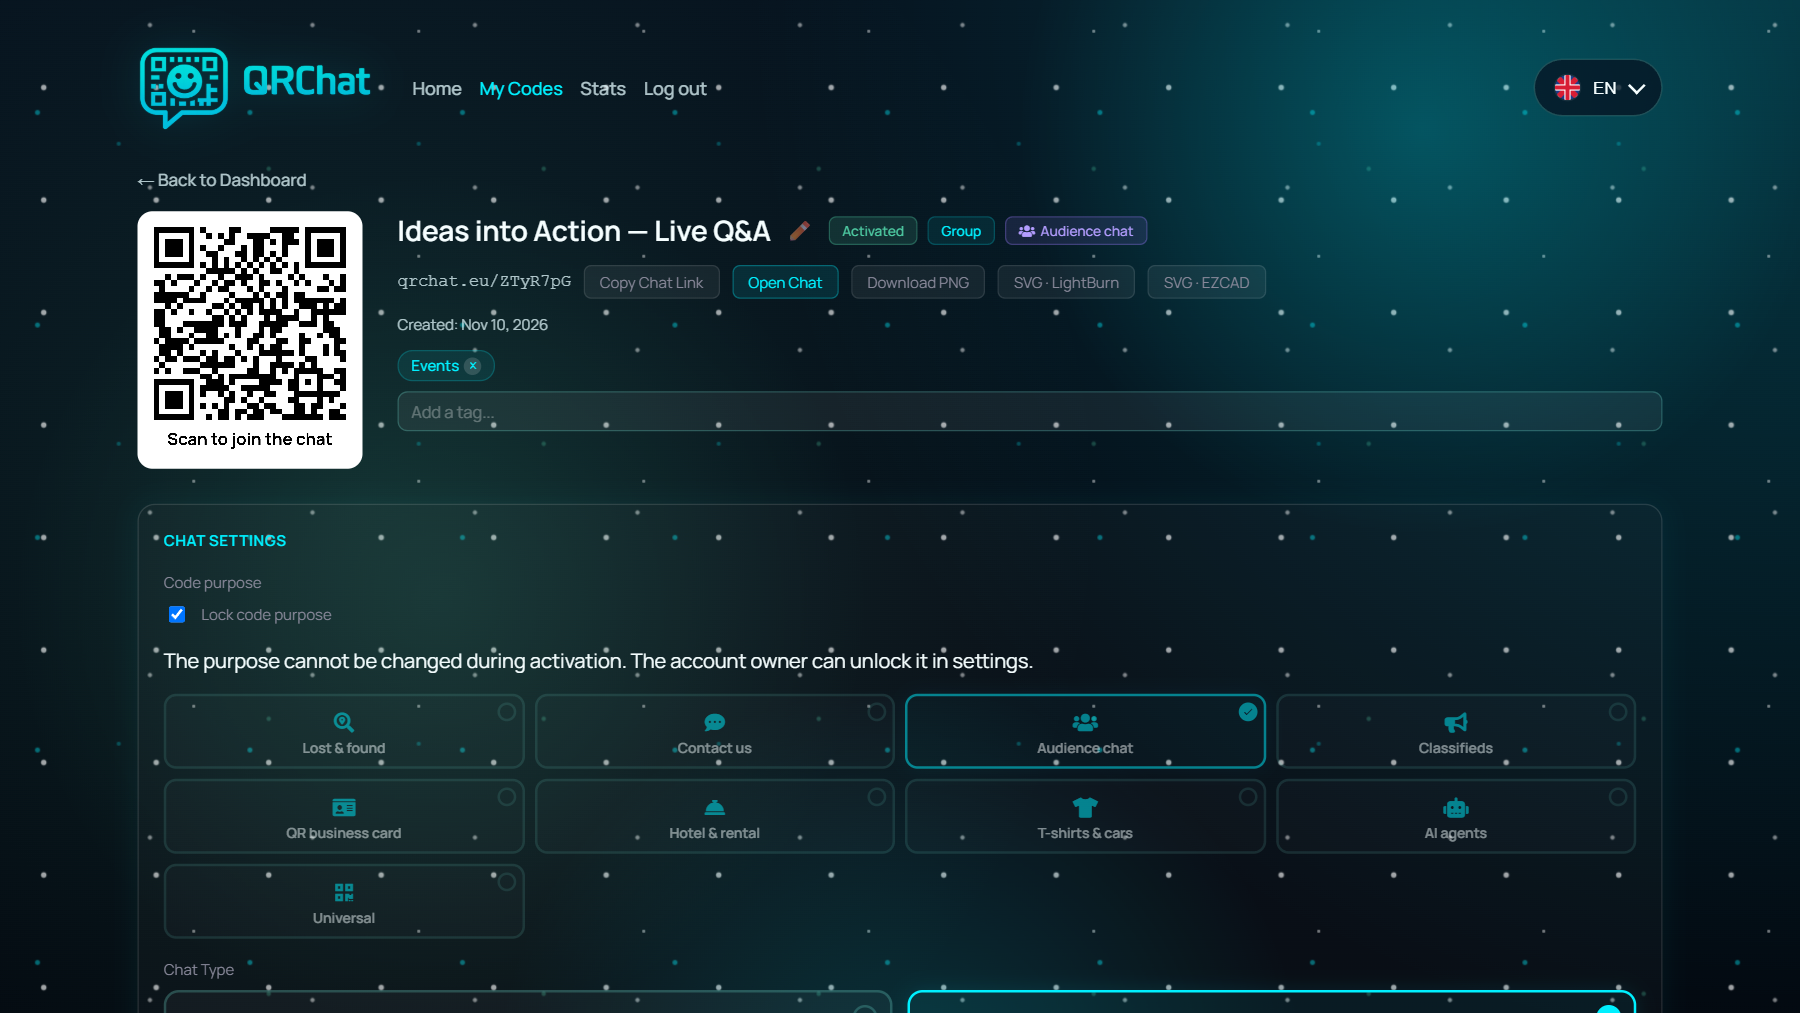
Leave Lock code purpose enabled if the code should remain dedicated to this purpose during activation. The account owner can unlock it later in settings.
3. Choose Group or Individual
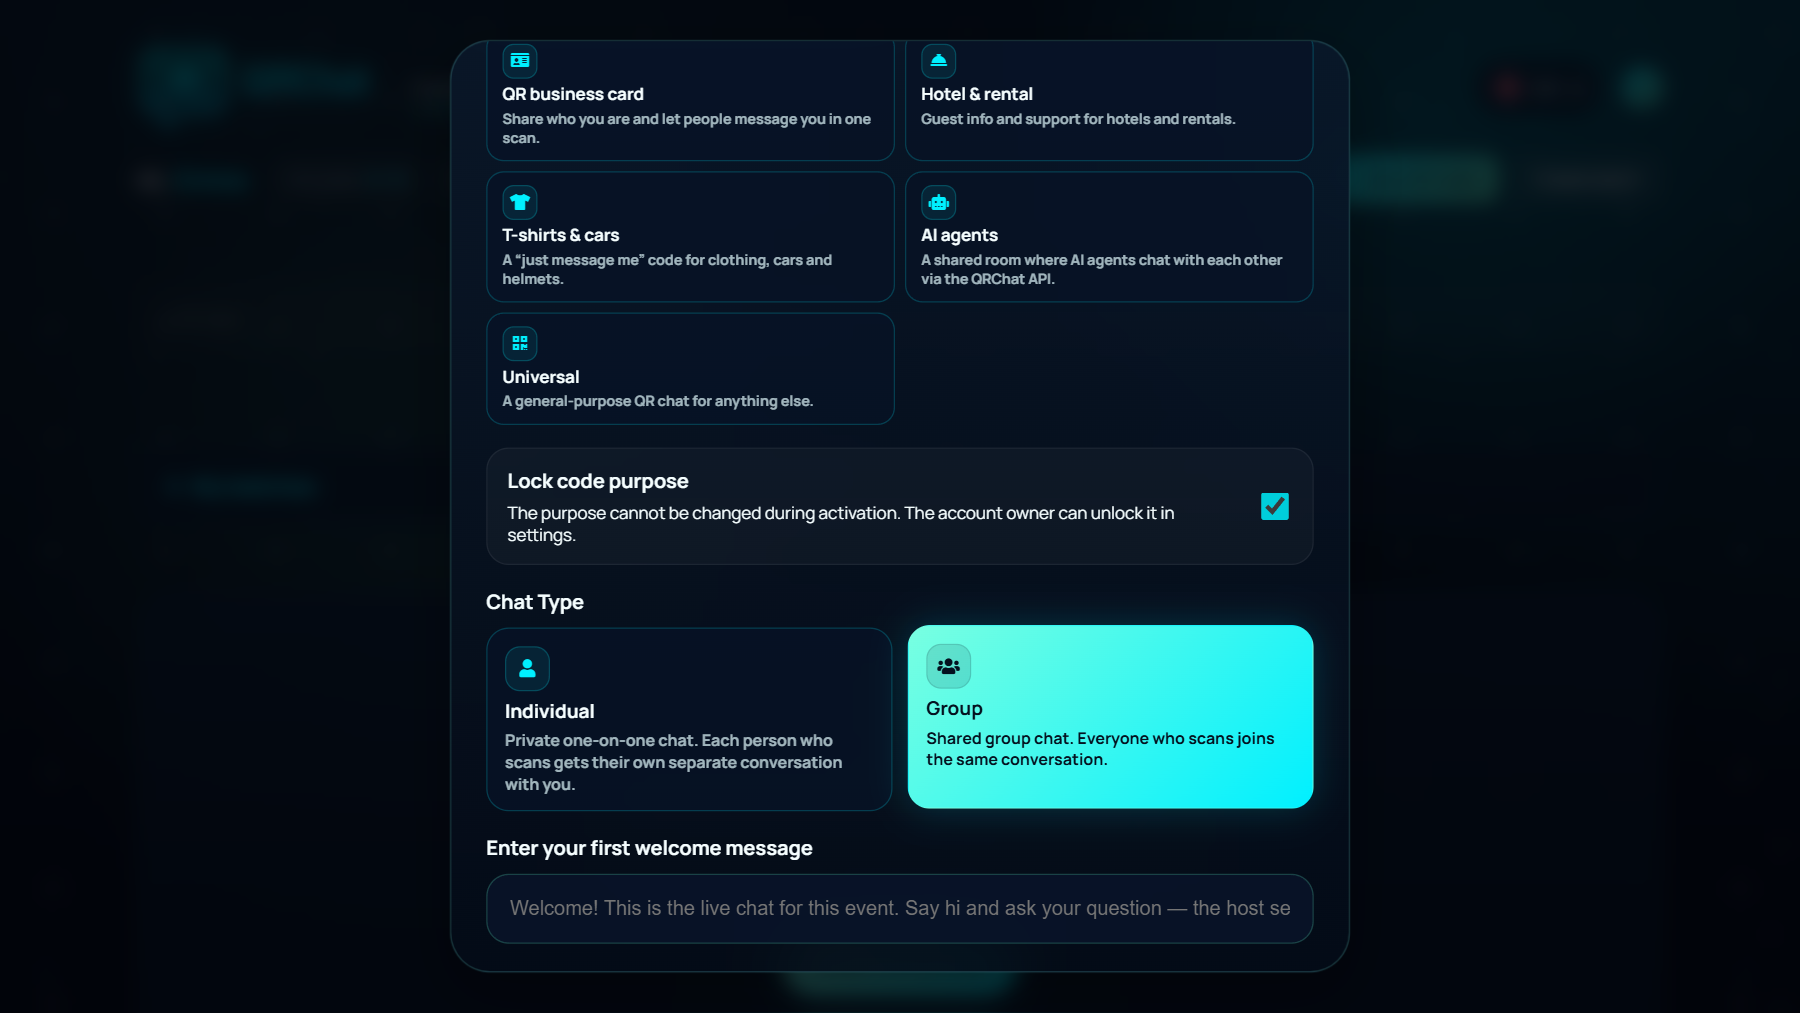
The next option is Chat Type. Audience chat initially selects Group.
- Group gives attendees one shared conversation. Choose it for open discussion, message ratings and polls.
- Individual gives each attendee a separate conversation with you. Other participants cannot read their messages or your replies. Choose it for private questions or anonymous feedback.
Both modes let the administrator present a selected message. Polls and message ratings are Group features.
4. Write the welcome message and add a tag
In Enter your first welcome message, tell people how to participate. For a group event, try:
Welcome! Ask a question, share an idea or vote in a poll. Add + to questions you want us to discuss.
For Individual mode, explain both privacy and your presentation policy:
Send a private question to the host. You can skip your name. We may display selected questions to discuss with the room.
Tags help you organise codes on your dashboard. For example, add “Events”. They are optional.
5. Generate your QR code
Leave Requires activation by the recipient switched off when you are running the event yourself. That option is for giving a code to someone who will activate it and become its owner.
Click Generate QR code. The result offers downloads, a public link and QR Code Settings. Open settings to continue. Keep the admin link private; share the public chat link with attendees.
6. Review chat settings and notifications
On the settings page, the top section contains the name, public link, Open Chat and download controls. Below it, Chat Settings lets you review the purpose, type and welcome message. Receiving messages pauses or reopens contributions.
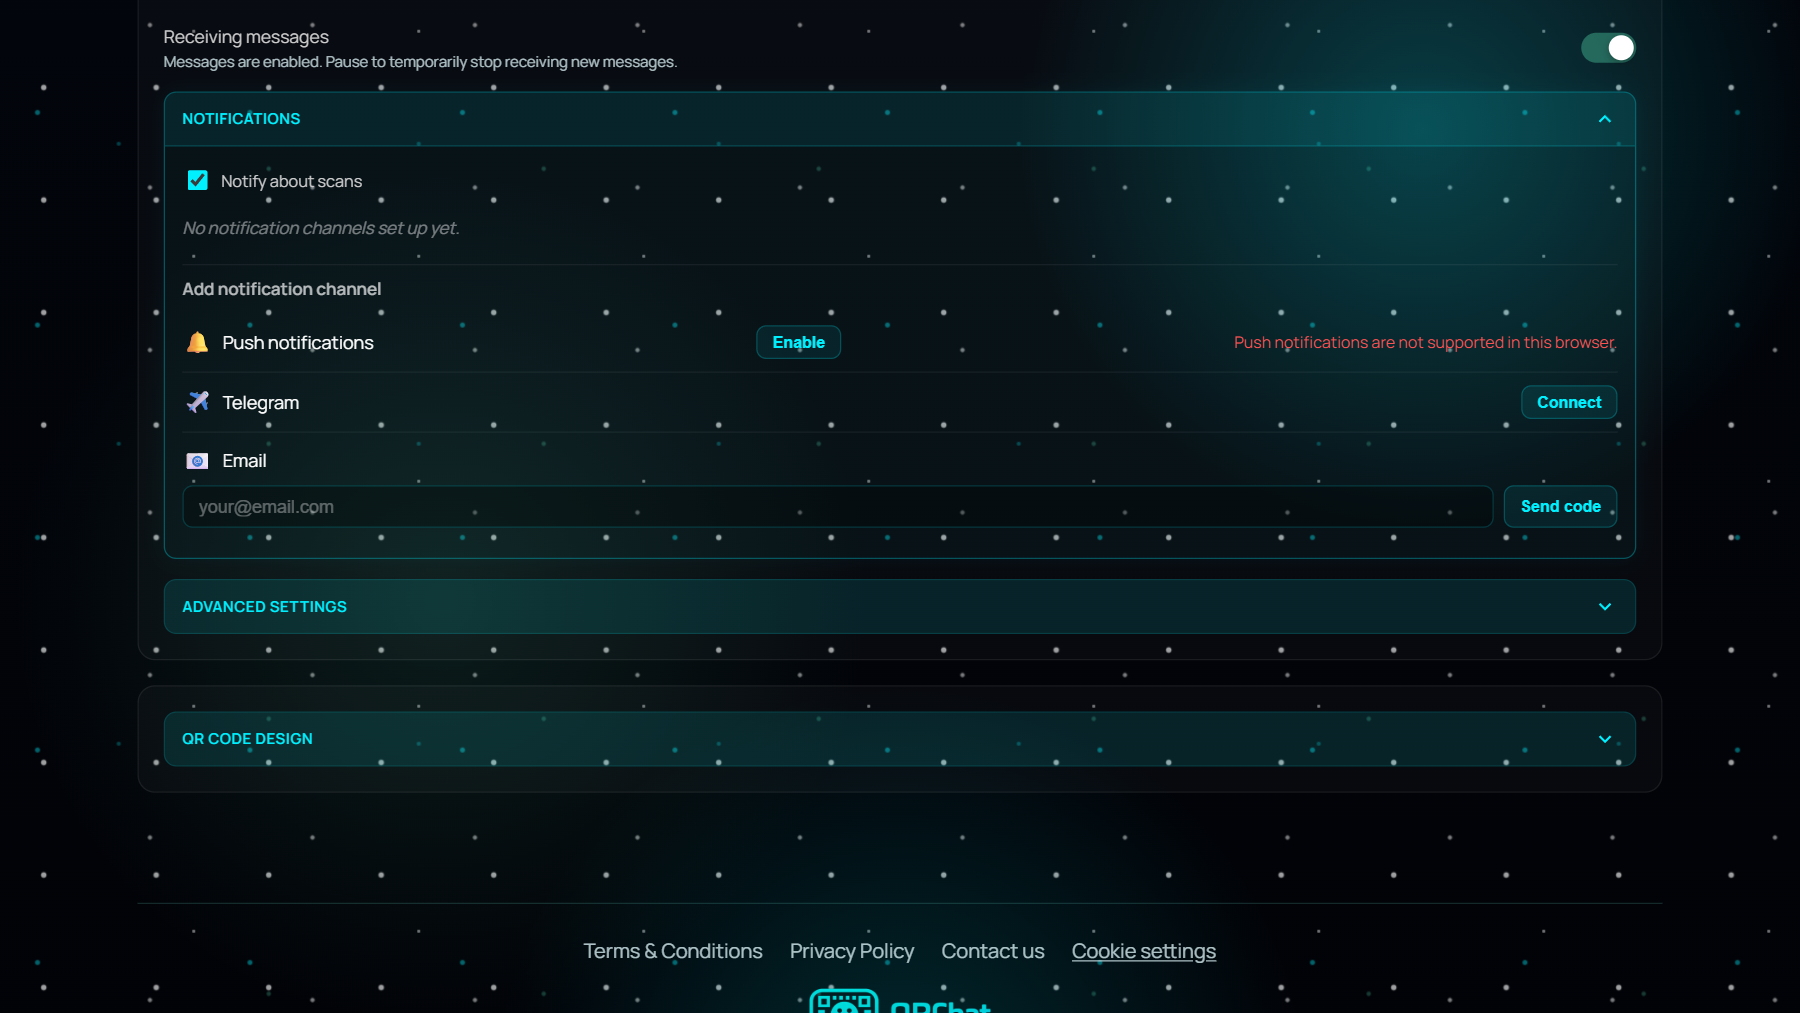
Scroll to Notifications. Choose the channels you want: browser push, Telegram or email. Follow the connection or verification steps for each channel. Push availability depends on the browser and permissions. Notify about scans controls scan notifications.
7. Customise the QR code
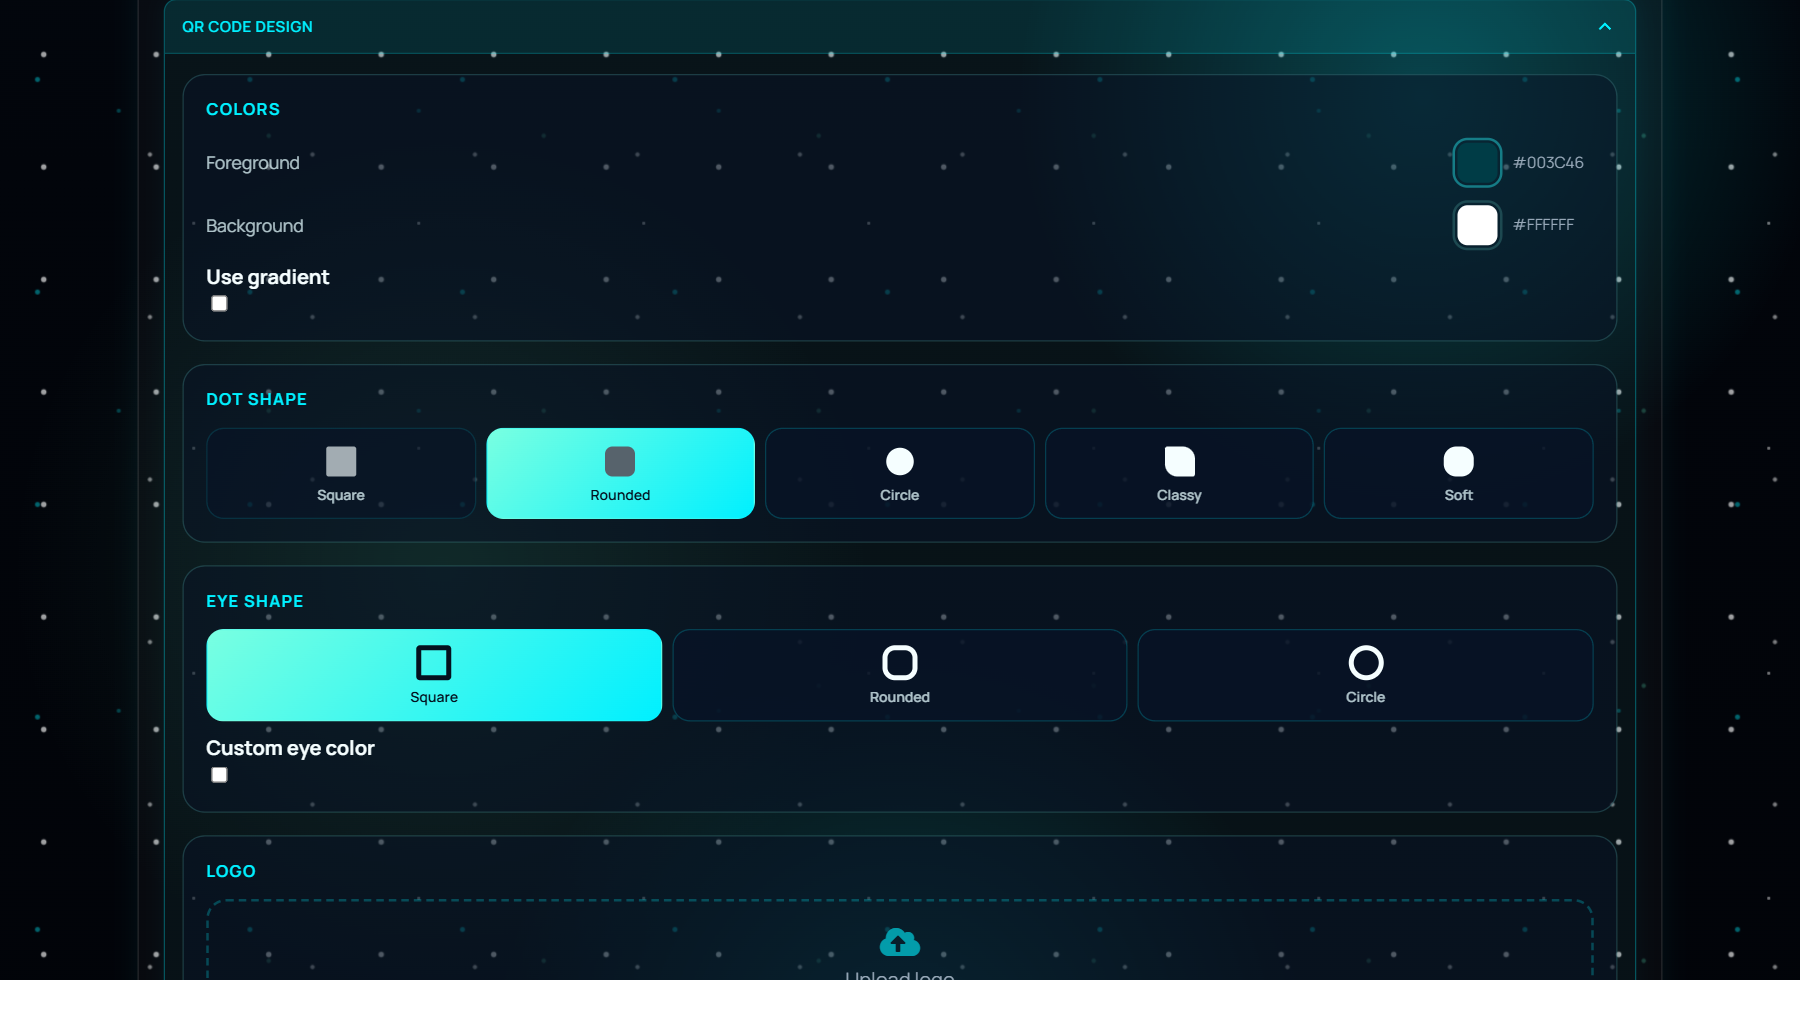
Below Advanced Settings, expand QR Code Design. You can adjust colours, dot shapes, corner styles, an optional logo and the caption.
Keep the code clearly darker than its background and leave the surrounding blank area intact. Click Save design, download the PNG or an appropriate SVG, and test a scan from another phone before printing or projecting it.
8. Open the chat and invite the room
Return to the top of settings and click Open Chat. Your welcome message appears above the conversation.
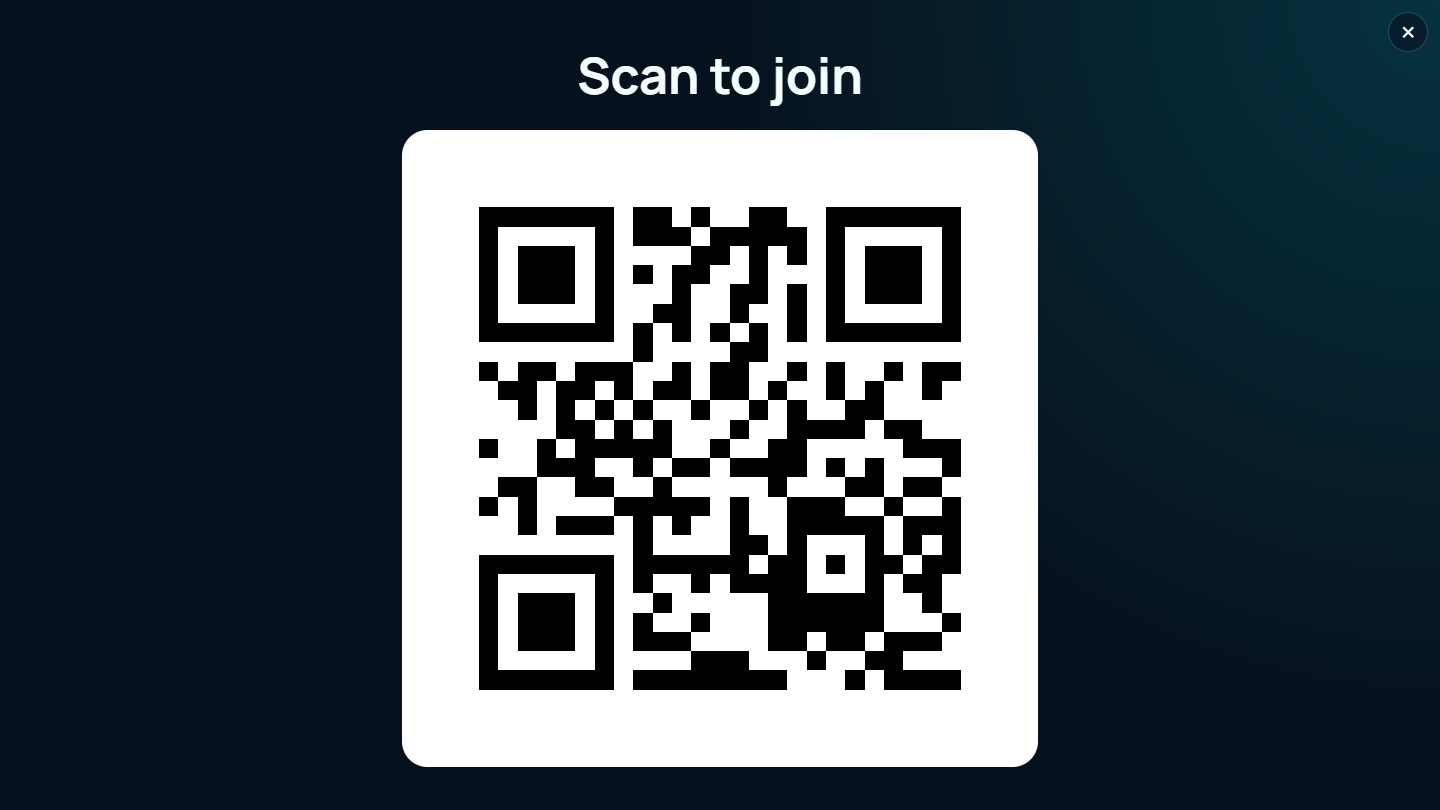
Click the small QR code in the chat header. It opens the presentation window with a large code and “Scan to join”. Put that window on the event display. Remote attendees can use the public link.
Test joining from a separate phone or browser session. Send a question. On the first message, the participant can enter a display name or choose Skip. If a name is already saved, use Change name before submitting a question without it.
The Share button is available to the host and participants. It prepares an invitation with the chat topic and public link. Supported devices open their normal sharing options; other browsers offer copy and email controls.
9. Run polls and use message ratings
In Group mode, click the attachment button and choose Create poll. Enter a question and two to eight options. Switch on Allow multiple answers when participants should be able to select several choices. Click Send poll.
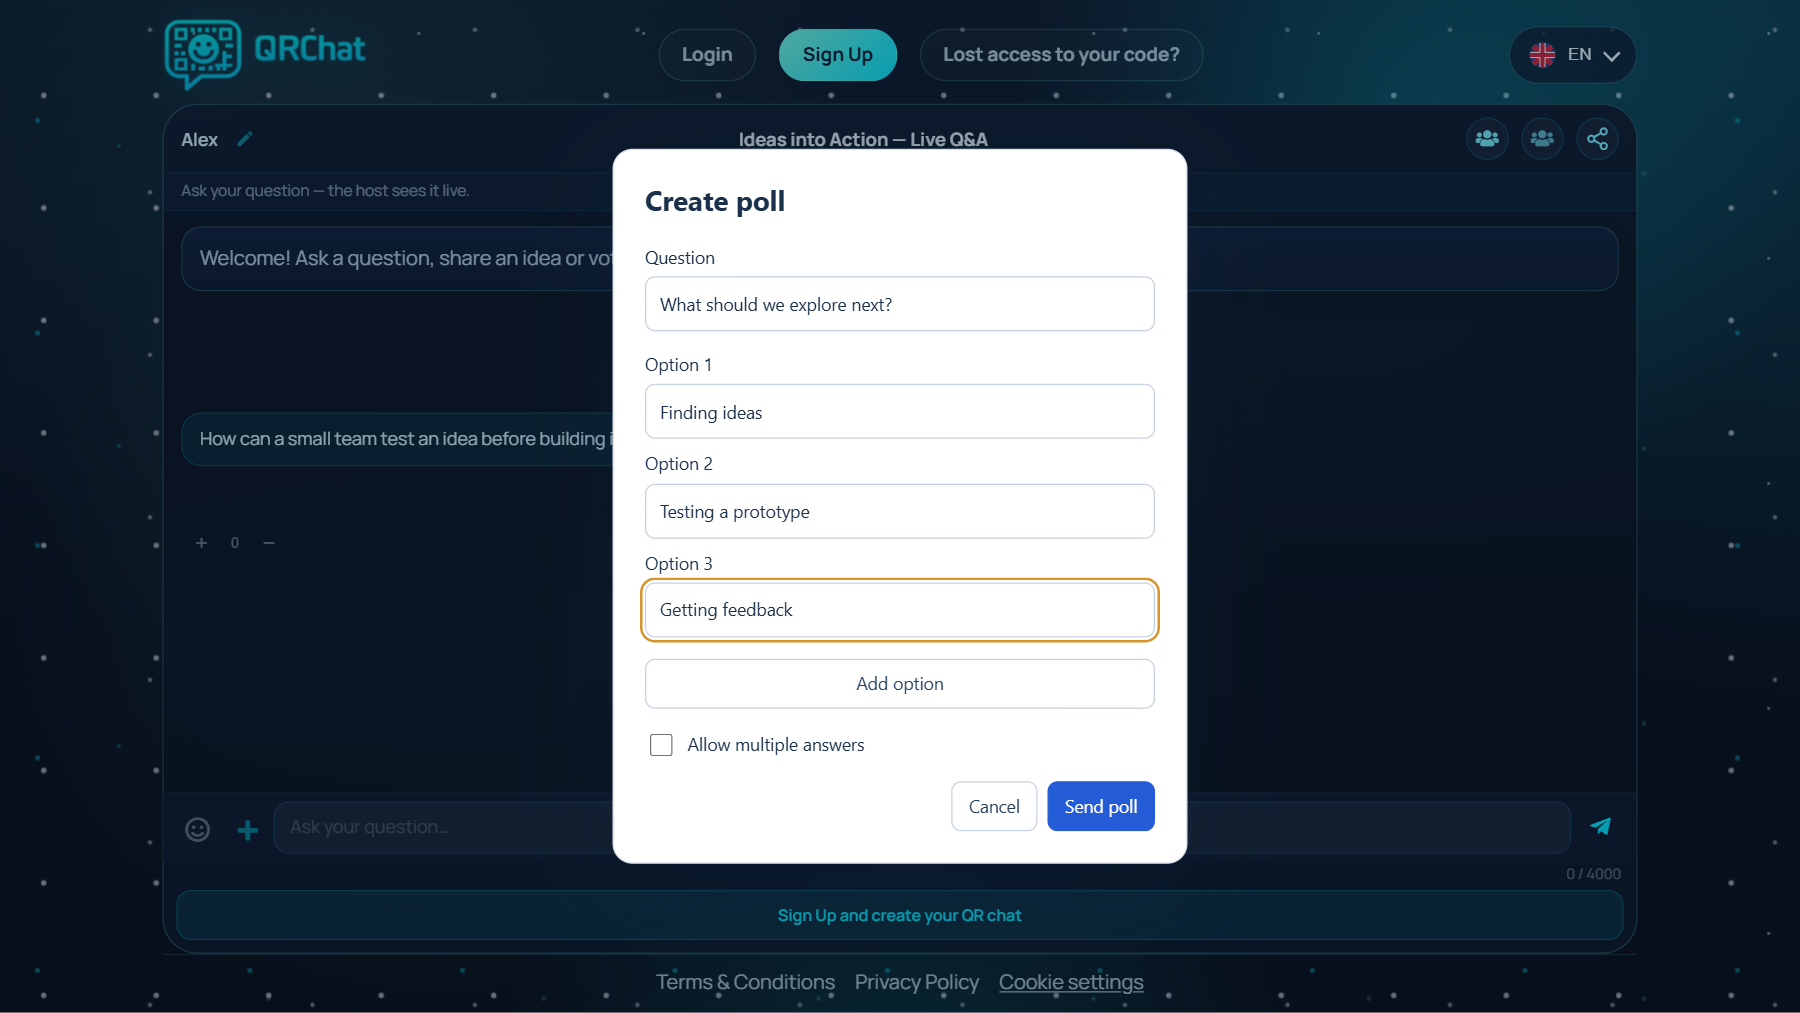
Anyone in the group can create a poll. It appears directly in the feed. Tap an option to vote; bars and counts update as responses arrive. A participant can change their selection. With multiple answers, the option counts can add up to more than the number of voters.
Use + and − beside a message to increase or decrease its score. Click the selected vote again to withdraw it. Scores help you notice shared interests; they do not reorder the feed or automatically select a question for presentation.
The attachment menu also lets participants share images and files.
10. Present selected messages
As administrator, click the monitor icon beside a message. On a computer, it opens a separate browser window. Move the window to your connected projector or second display, then click Full screen.
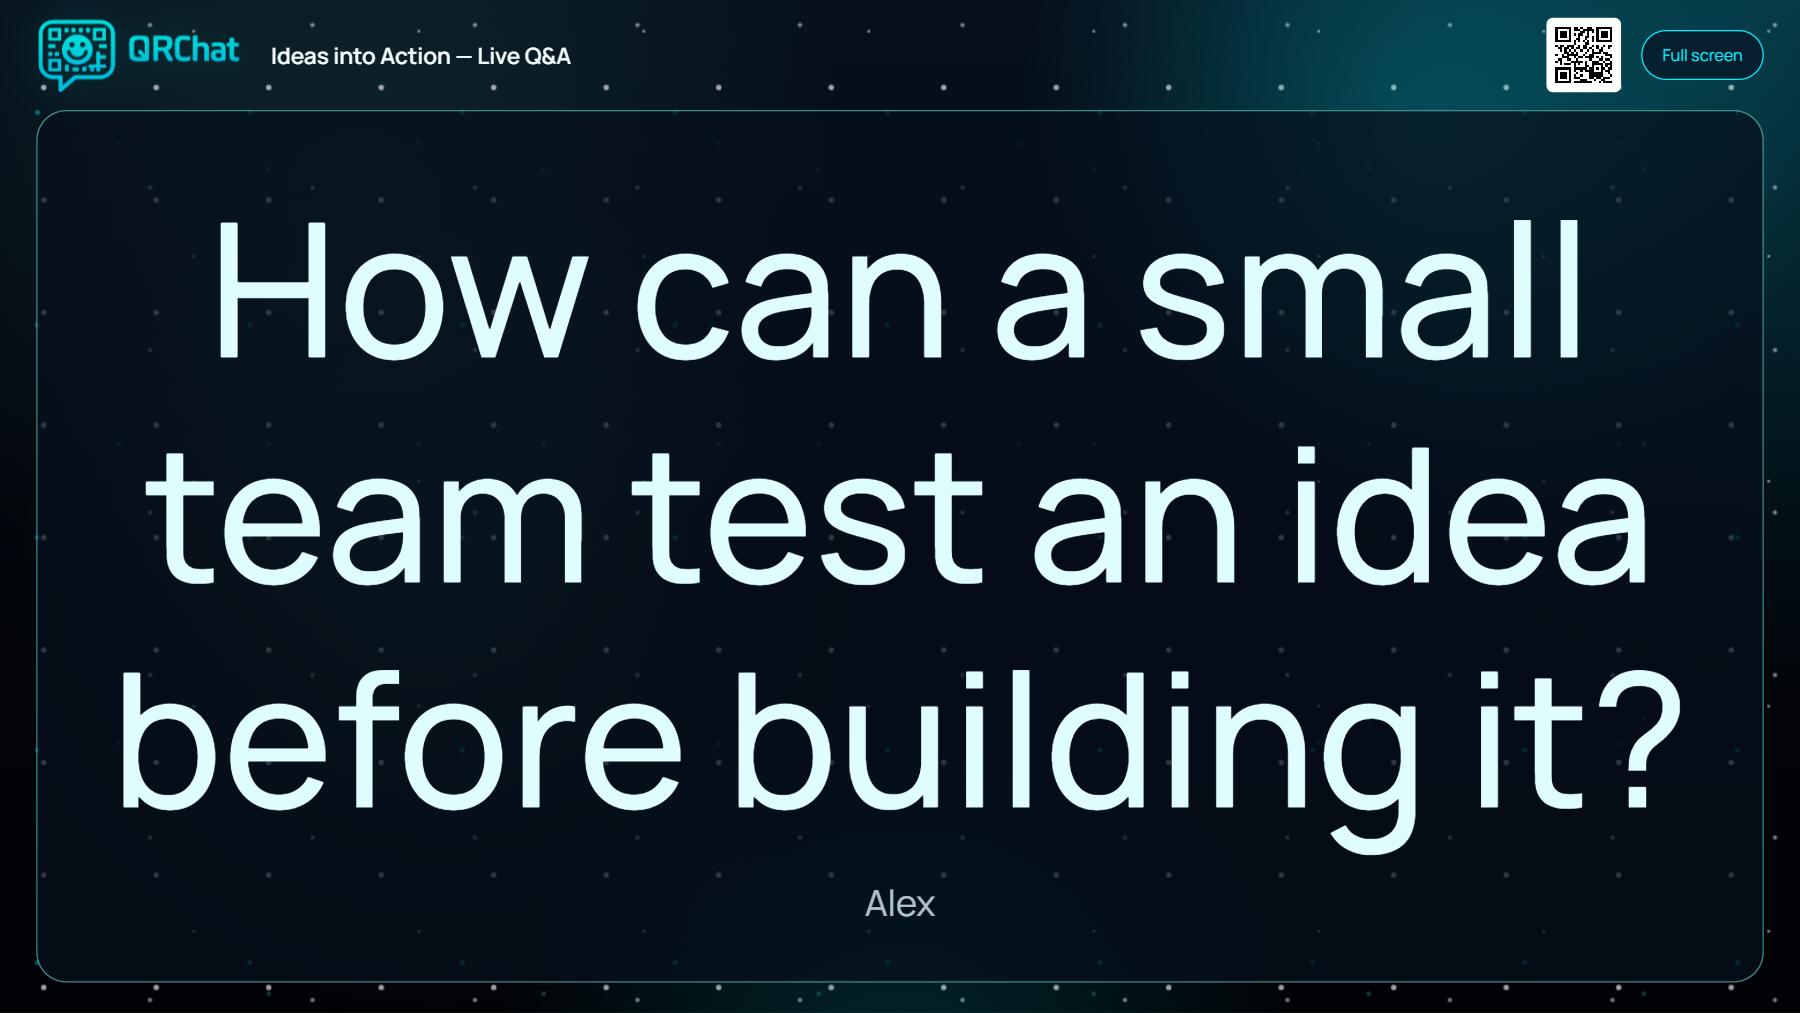
Click another message’s monitor and the same window updates. You can show images, polls and their current results, or the welcome message. The QR button in the presentation header returns to the large joining code.
Keep the main chat on your own screen to select contributions. On mobile, the monitor opens a full-screen view inside the chat; close it to return.
11. Handle private and anonymous questions
For Individual mode, create a code with Chat Type → Individual. Open a participant’s conversation from the host view. Each attendee sees only their own thread.
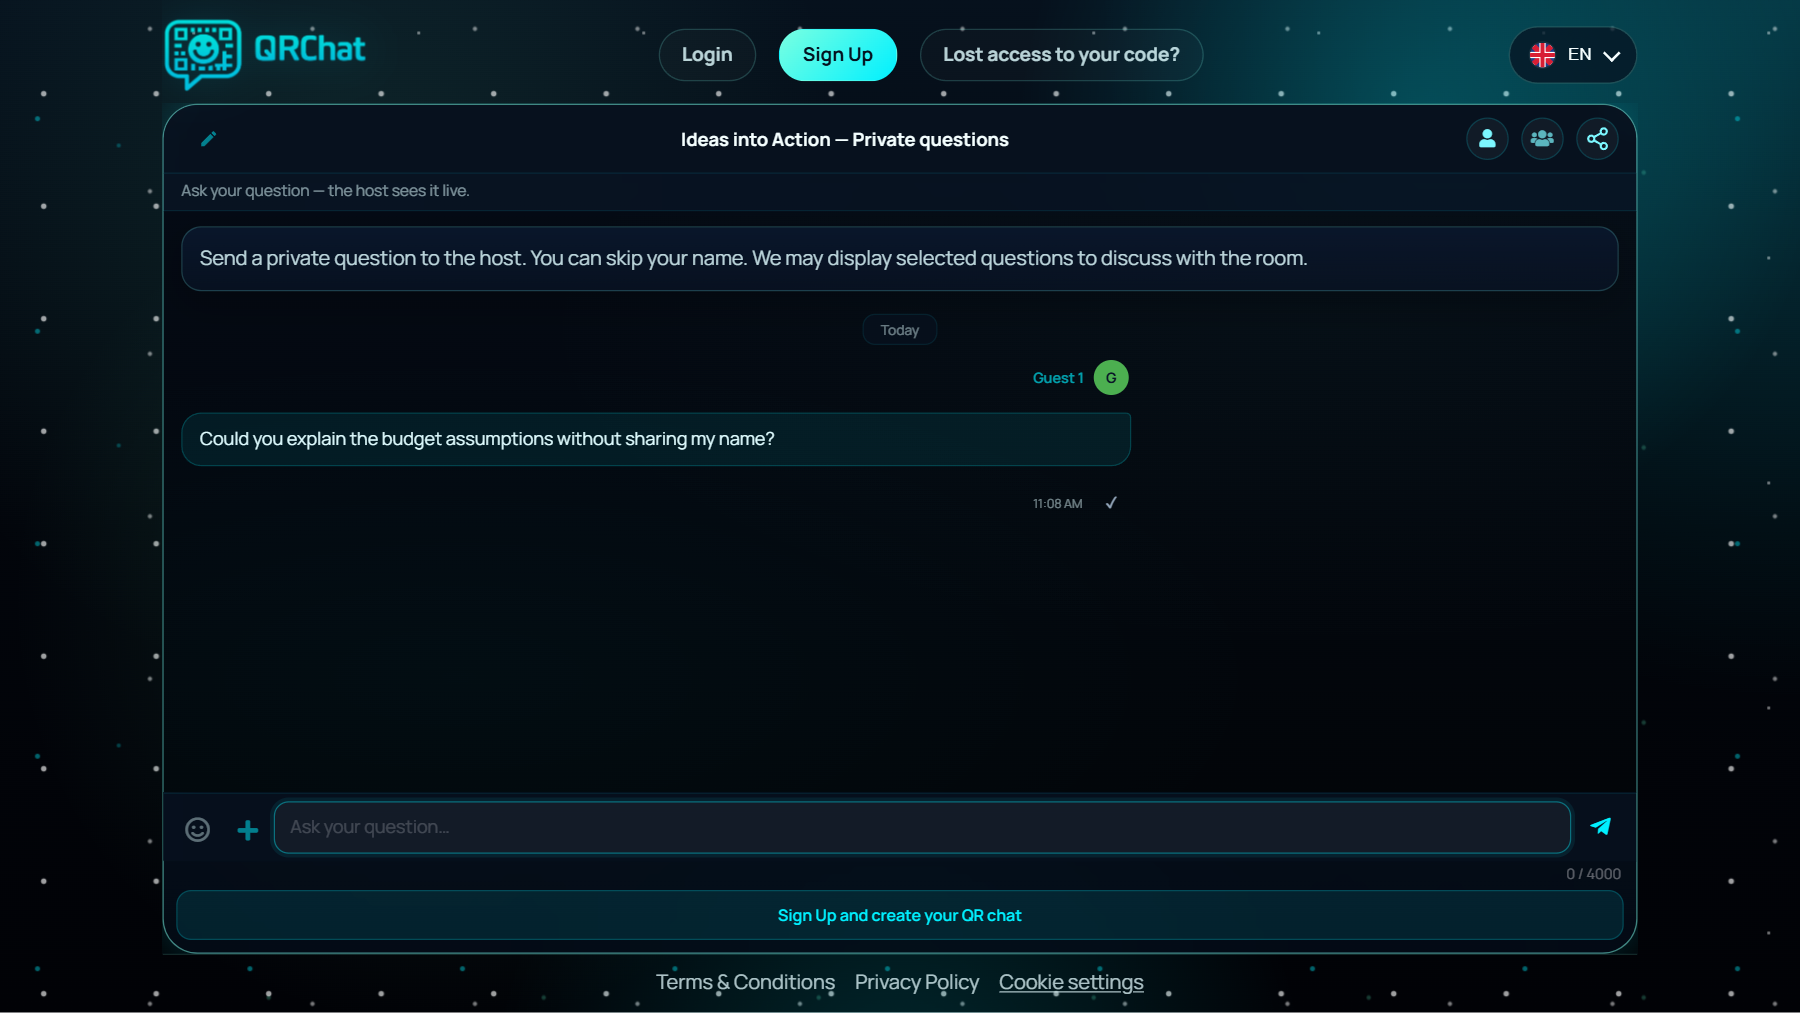
The host can click a question’s monitor to present only that message. The rest of the thread is not published. Questions you never select stay out of view of the other attendees.
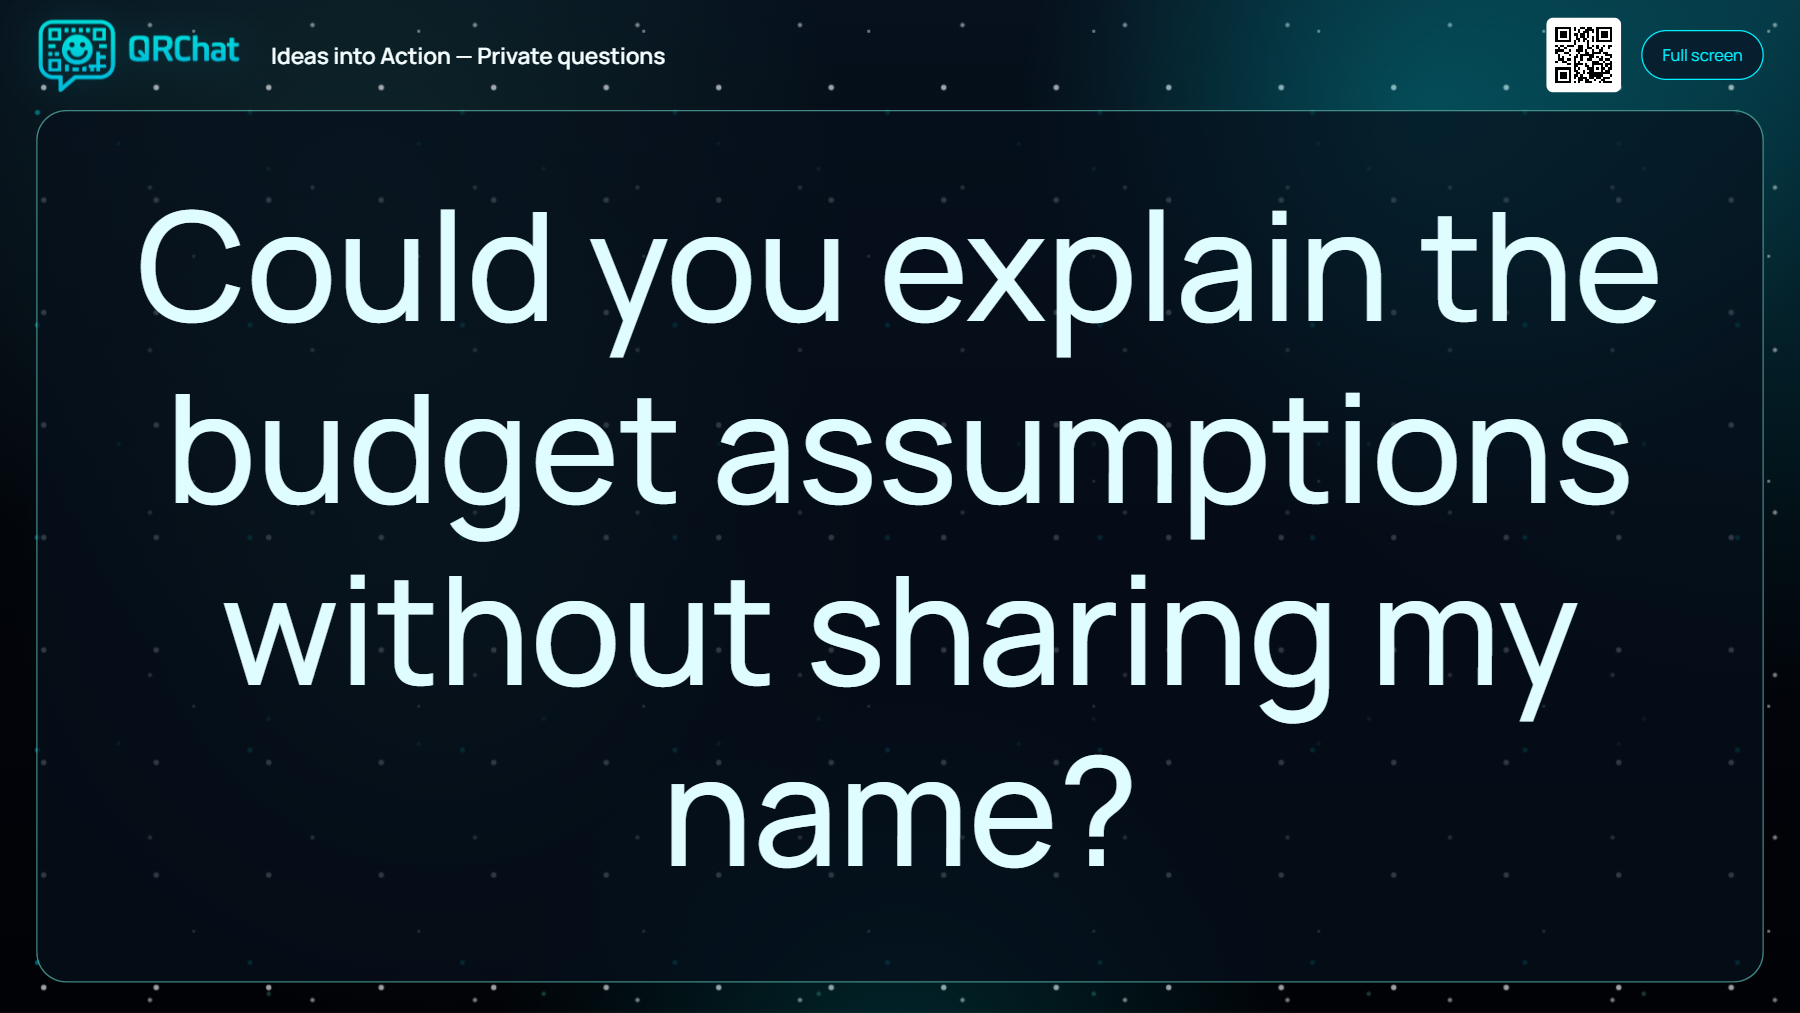
Skipping a name allows a submission without a real name. Individual mode controls who can read the conversation. Tell participants whether you may show selected questions publicly.
Before attendees arrive
- Scan the code from a realistic distance on another phone.
- Check the public link and welcome message.
- Send a question; in Group mode, answer a poll and try a rating.
- In Individual mode, confirm a second participant cannot see the first thread.
- Move the presentation window to your display and switch between messages.
- Decide who monitors the chat and when the speaker will respond.
Create your Audience chat or return to the event engagement overview.